ComfyUI has a modular interface for generating images using stable diffusion models. It is very interesting how it works because it uses a node-based workflow that you construct and can tweak for a lot of customization to the models that you import. To set it up you import a checkpoint model the AI uses to generate images. I have linked to some sites where you can find some of these checkpoints under resources.
Resources:
Install ComfyUI: https://github.com/comfyanonymous/ComfyUI
Find models: https://civitai.com/models or https://tensor.art/models
Ranks of good models: https://imgsys.org/
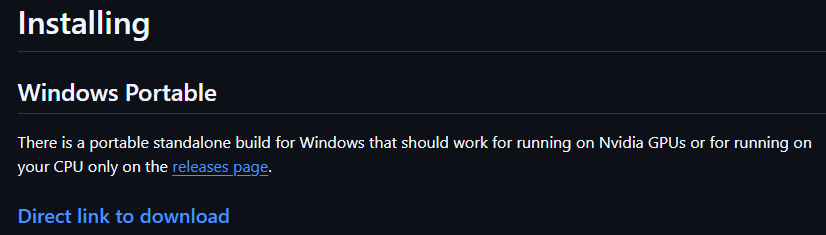
We will download ComfyUI first. Go to the GitHub URL under resources at the top of the page. Scroll down till you see Windows Portable: Direct link to download – click it
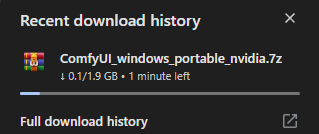
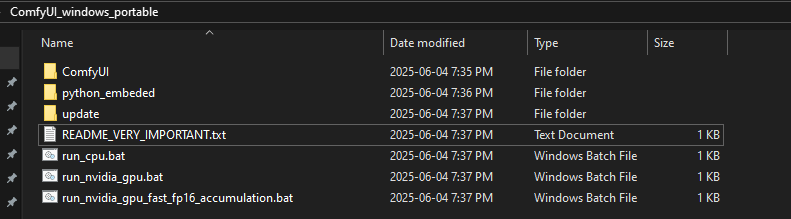
Once it is finished downloading we will extract it with 7-zip or WinRAR and move it to your desktop. After moving it into your desktop open it up and you will get this. If you have a NVIDIA GPU then run the run_nvidia_gpu.bat but if you don’t have a NVIDIA GPU then you can just run run_cpu.bat which will be much slower cause it is using your CPU instead of your GPU.
We won’t run anything right now but we will go to: ComfyUI_windows_portable\ComfyUI\models\checkpoints
This is where you will put checkpoints that you can use in ComfyUI. I will be using this one from the website given up above in resources. Click Download and put the file inside the checkpoints folder.

It should look something like this

Go back to ComfyUI_windows_portable and run the run_nvidia_gpu.bat. You may need to hit enter in the command prompt that opens. It should automatically open a browser after finishing starting. You will get a blank canvas so now we will add some nodes so we can generate a simple image using the checkpoint we just added in the checkpoints folder.
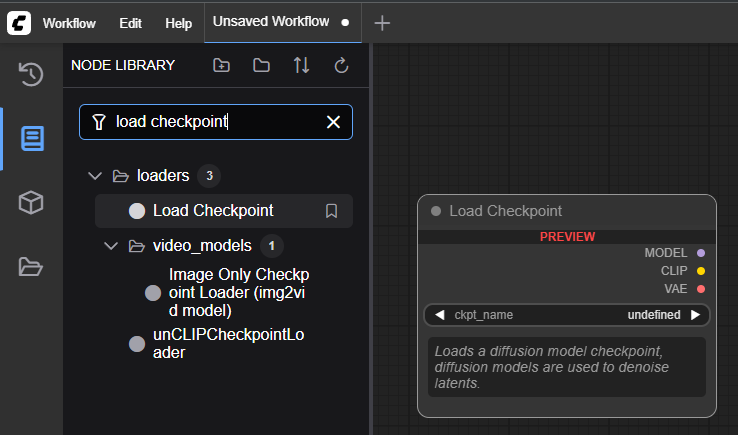
We will be adding some nodes. First we need to load our checkpoint. This checkpoint will define the style of your image. There are some that work well for anime, Disney Pixar photos, realistic photos, or other stuff.
Then we will add two “cliptextencode.” One will be for our positive prompt, and one will be for our negative prompt.

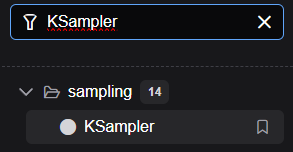
Next you will need one KSampler.
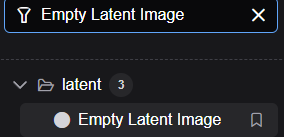
Drag in Empty Latent Image
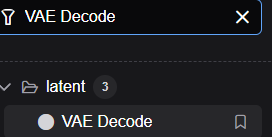
Add in VAE Decode
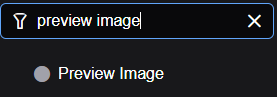
Add in Preview Image. This will just preview the image and will not automatically download it to your computer.
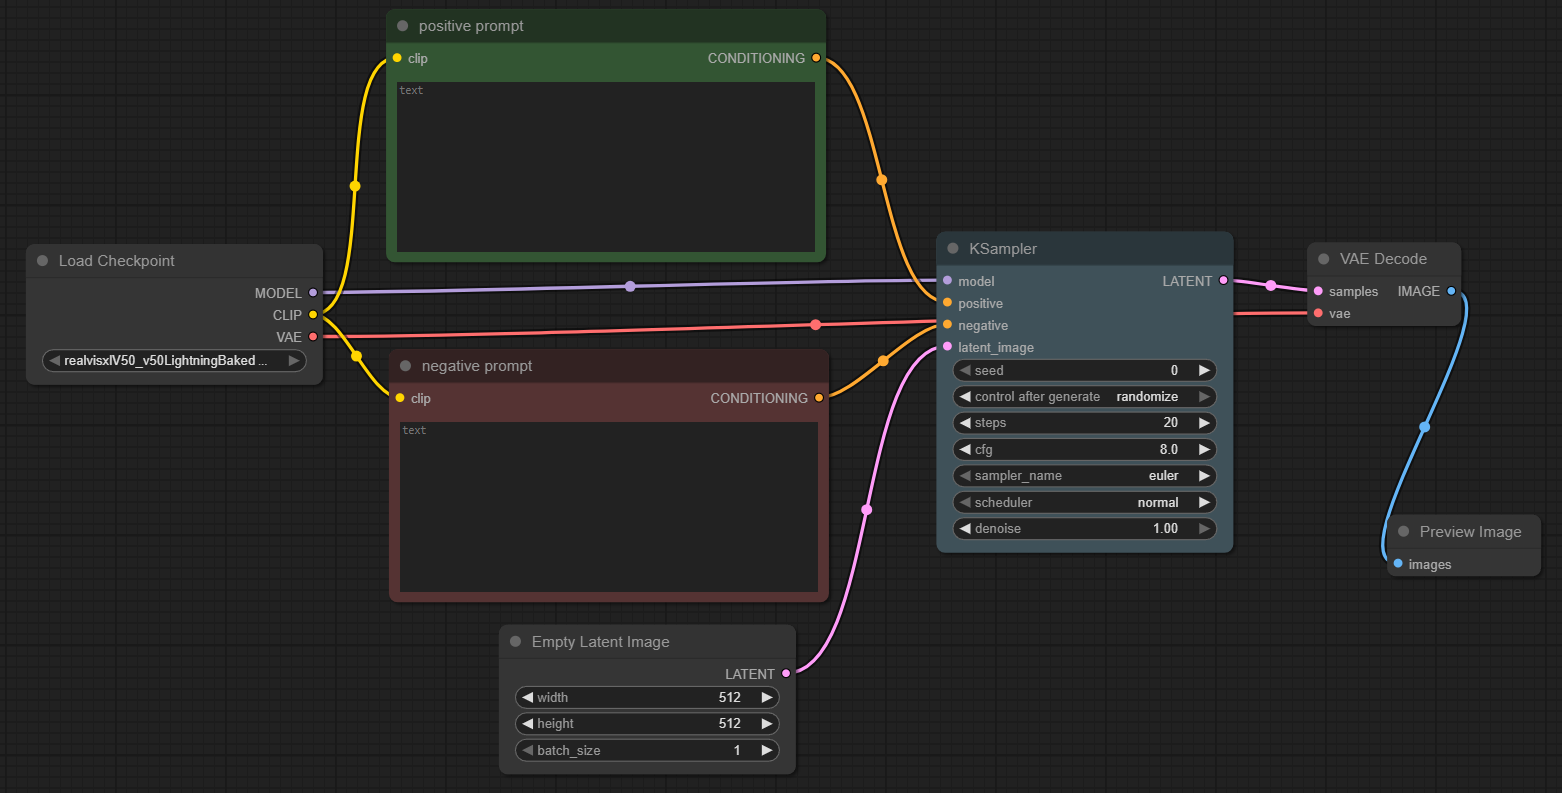
Connect everything together. You can just follow the image below. To connect the two, you just click and drag on the dots to the corresponding matching dot like in the image below.
It starts with a Load Checkpoint node where the model realvisxlV50_v50LightningBaked is loaded, along with its associated CLIP and VAE. The positive prompt and negative prompt nodes define what the model should favor or avoid when generating the image. These prompts are connected to a KSampler, which handles the sampling process using parameters like seed, steps, CFG (classifier-free guidance), sampler (Euler), and denoising strength. The Empty Latent Image node provides a blank latent space of 512×512 for image generation. The output of the KSampler is a latent image that is passed to the VAE Decode node, converting it into a visual image. Finally, the image is rendered using the Preview Image node. This setup allows for flexible, prompt-driven AI image creation with fine-tuned sampling control. The seed value ensures repeatability or randomness, and the CFG setting controls how strongly the output adheres to the text prompt. The sampler and scheduler chosen can affect generation speed and image quality, giving users creative control over how the image evolves from noise.
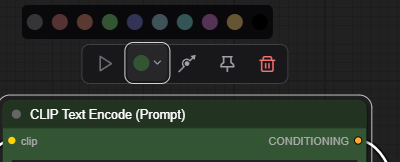
You can also rename and recolor these nodes by right clicking on them.
Once you have completed all these steps simply insert a positive prompt and negative prompt if you want and hit “run” on the bottom. You will then get an image that you can save by right clicking on it and saving it. Here is my example and the image that generated for me.
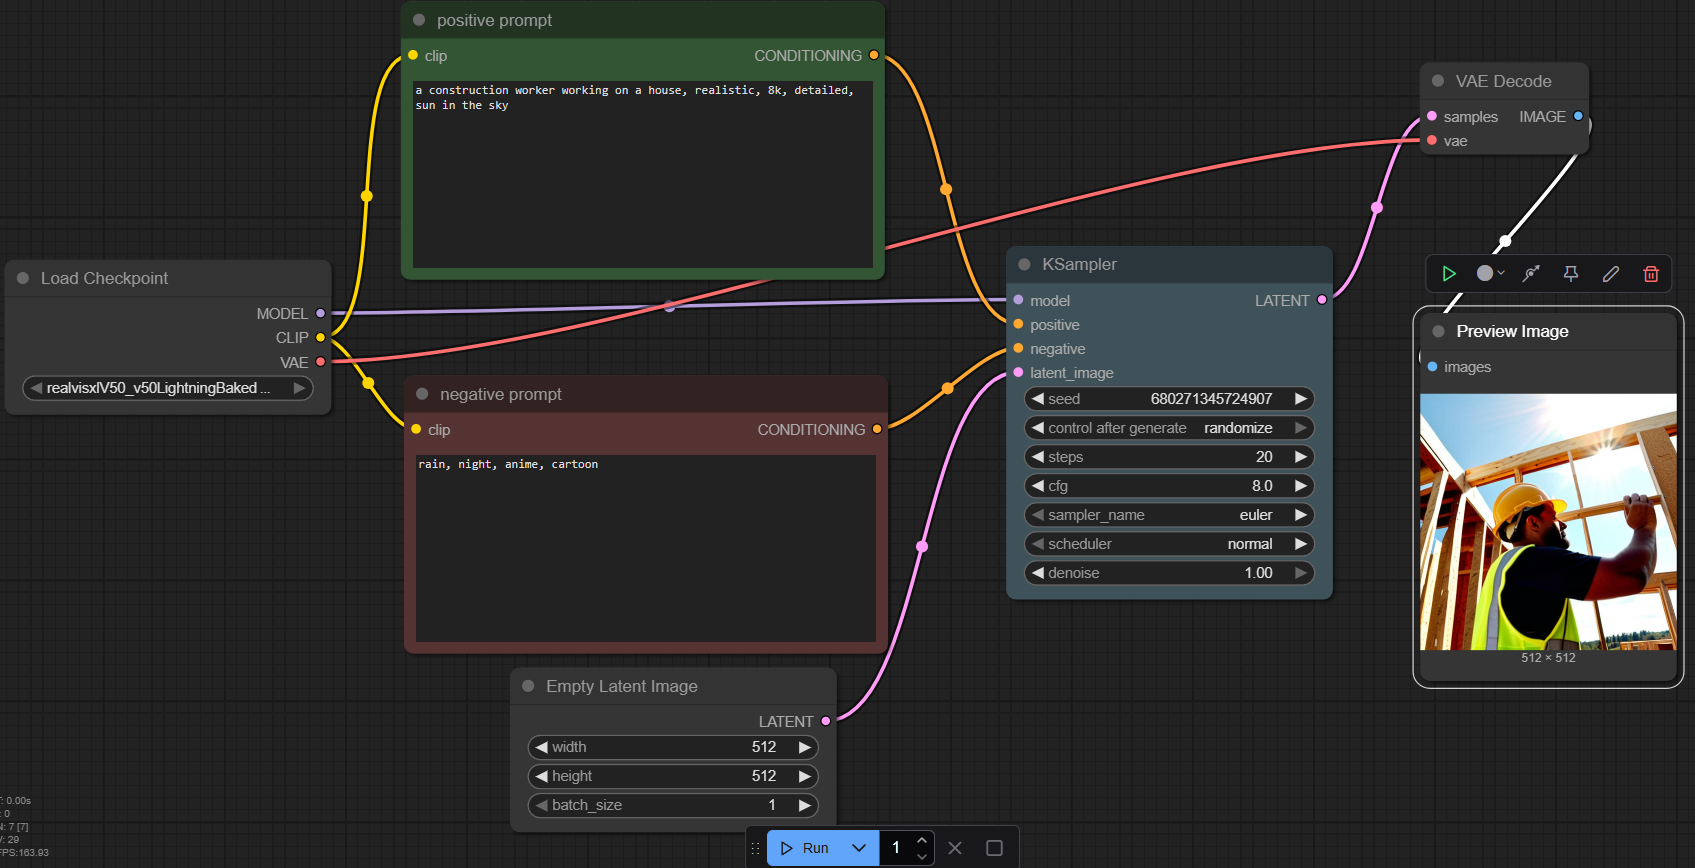
It gave me the prompt I asked for and did not include any of the negative prompts I put in which is exactly what I wanted which is a realistic construction worker

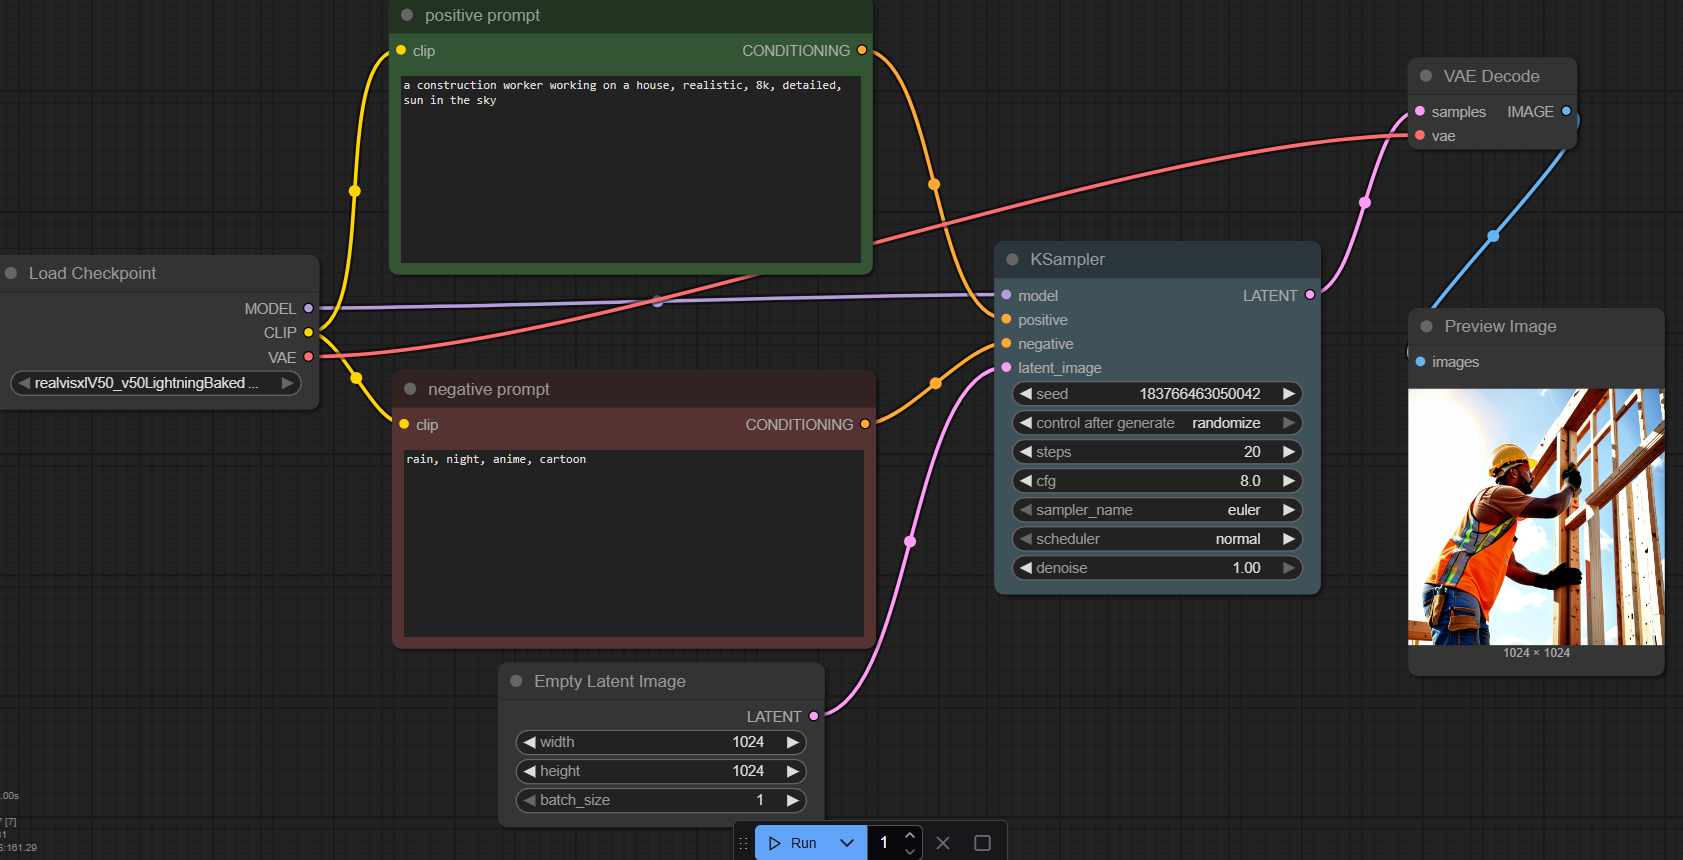
Here is another one that I generated with an image size of 1024 by 1024

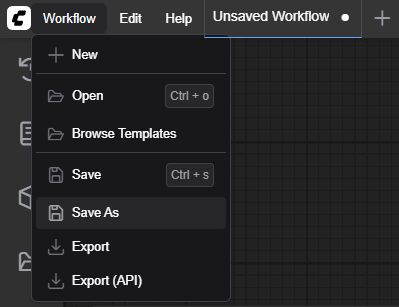
If you want to save your workflow you made you can click in the corner and click Save as then hit Export which will make you a .Json file. You can then import this workflow into ComfyUI again for future use.
This is a very basic implementation of ComfyUI where we installed ComfyUI and imported a model of RealVisXL V5.0 and ran it to make some simple realistic images. If you choose to you can mess around with the settings and nodes to alter the images and generations for whatever you want.